Overview
The home closing process is the last hurdle in buying a home. It’s when you sign all the paperwork, pay the final costs, and get the keys to your new place. It can seem stressful, but knowing what’s coming helps everything go smoothly. This article breaks it all down so you’re ready for the big day.

What to Expect During the Home Closing Process
Before you get to the closing table, preparation is key. You’ll need your mortgage application checklist in order and your mortgage application fully completed. The mortgage is the backbone of this process—it’s the loan that makes your home purchase possible. Here’s what happens during the closing process, step by step:
Step 1: Reviewing the Closing Disclosure
A few days before closing, you’ll get a closing disclosure. This document spells out your loan details—interest rate, monthly payments, and closing costs. Check it carefully. Mistakes happen, and catching them early saves headaches later. The Consumer Financial Protection Bureau offers a guide to understanding the closing disclosure, which is a great resource if you’re unsure what to look for.
Step 2: Signing the Paperwork
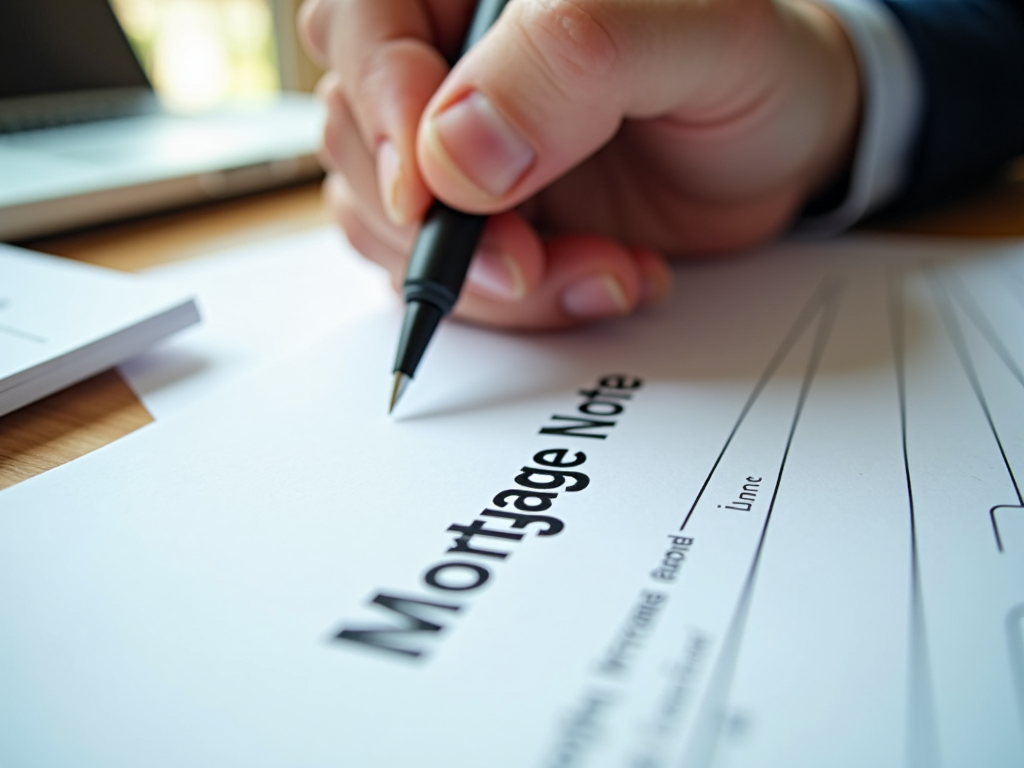
At closing, you’ll face a stack of papers. The mortgage note promises you’ll repay the loan—it’s a big deal, and signing it might make your heart race a little. The deed of trust ties the loan to the house, and the title transfer makes it officially yours. I remember signing my own mortgage note; it felt both scary and thrilling, like stepping into a new life. Your agent or lawyer will explain each paper, so don’t worry if it feels like a lot.
Step 3: Paying the Closing Costs
Next, you’ll pay the closing costs. These fees cover things like appraisals and title searches. Here’s a quick look at what you might pay:
- Appraisal Fee: $300-$500
- Title Search Fee: $200-$400
- Origination Fee: 0.5%-1% of the loan
- Recording Fee: $50-$100
- Escrow Deposit: 1-2 months of taxes and insurance
These add up, so plan ahead. Your lender gives an estimate early on, but the closing disclosure locks in the final numbers.

Step 4: Receiving the Keys
Finally, you get the keys. This is the best part. After all the forms and fees, holding those keys feels like a victory. When I got mine, I couldn’t stop smiling—it was real, I was a homeowner. You’ll likely feel that same rush. It’s the end of a long road and the start of something new.
Tips to Make Closing Easier
Closing can stir up all kinds of emotions—excitement, nerves, even a little doubt. That’s normal. Here are some practical tips to keep things on track:
- Double-Check the Disclosure: Compare it to your loan estimate. Ask about anything off.
- Bring ID: They’ll need to verify who you are.
- Have Funds Ready: A cashier’s check or wire transfer works—check with your lender.
- Speak Up: If you’re confused, ask. No question is too small.
A good real estate agent and lender are lifesavers here. They’ll guide you and catch details you might miss. The National Association of Realtors has a solid article on closing expectations that’s worth a read.

Summary
The home closing process wraps up your journey to homeownership. You’ll review the closing disclosure, sign papers, pay costs, and get your keys. It’s a big moment that can feel overwhelming, but preparation turns it into a celebration. Check your documents, ask questions, and enjoy the thrill of unlocking your new home.


